Why Fire Pit Pizza Beats Your Kitchen Oven
There’s a reason wood-fired pizza commands a premium at every restaurant that serves it: the combination of high radiant heat, wood smoke flavor, and rapid cooking creates a crust and char that a conventional oven simply cannot replicate. The good news? Your backyard fire pit can hit the same temperatures — often 600°F or higher — that professional pizza ovens operate at.
You don’t need a dedicated pizza oven. You don’t need special masonry skills. With a fire pit, a grill grate, and a few basic techniques, you can serve wood-fired pizza that rivals your favorite pizzeria. Here’s exactly how.
What You Need
Essential Gear
- A fire pit — any wood-burning fire pit works. Smokeless models are ideal because their efficient burn produces more consistent, higher heat.
- A grill grate — fits over your fire pit to create a cooking surface. The NatureStove Grill Grate Pro is stainless steel and fits pits from 15″ to 22″ in diameter.
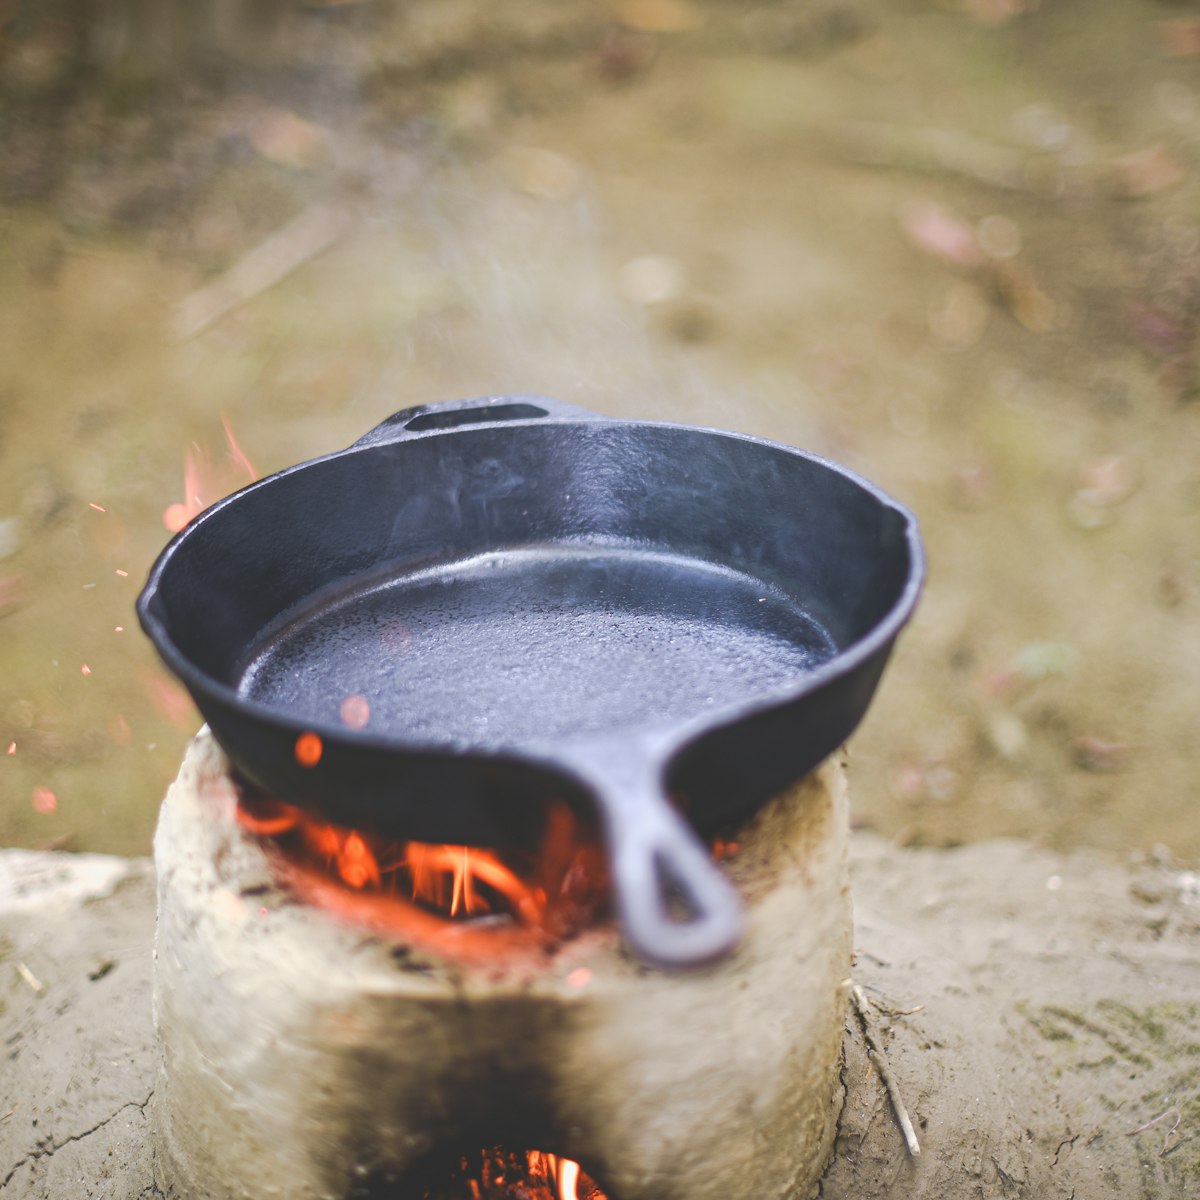
- A pizza stone or cast iron skillet — the stone absorbs and radiates heat evenly, giving you that crispy bottom crust. A 12″ cast iron skillet works as a substitute. The NatureStove Cast Iron Cookware Set includes a flat-bottom skillet that doubles perfectly as a pizza pan.
- A pizza peel or flat cutting board — for sliding the pizza on and off the hot surface.
- Long-handled tongs and a heat-resistant glove — you’re working close to open flame, so protect yourself.
Nice to Have
- An infrared thermometer to check surface temperature
- A metal dome or disposable aluminum pan to trap heat over the pizza (mimics a pizza oven’s enclosed chamber)
- A spray bottle of water for taming flare-ups
The Dough: Keep It Simple
Great pizza dough doesn’t require a 72-hour cold ferment (though that helps). Here’s a straightforward recipe that works beautifully over fire:
Ingredients (makes two 12-inch pizzas):
- 2¼ teaspoons active dry yeast
- 1 cup warm water (105-110°F)
- 3 cups all-purpose or bread flour
- 2 tablespoons olive oil
- 1 teaspoon salt
- 1 teaspoon sugar
Dissolve yeast and sugar in warm water; let it sit 5 minutes until foamy. Mix in flour, oil, and salt. Knead 8-10 minutes until smooth and elastic. Cover and let rise 1-2 hours until doubled. Divide into two balls.
If you’re camping, mix the dry ingredients at home in a zip-lock bag. Add water and oil at camp, knead in the bag, and let it rise in a warm spot near (but not on) the fire.
Building the Right Fire
Pizza needs high, even heat. Here’s how to build the right fire:
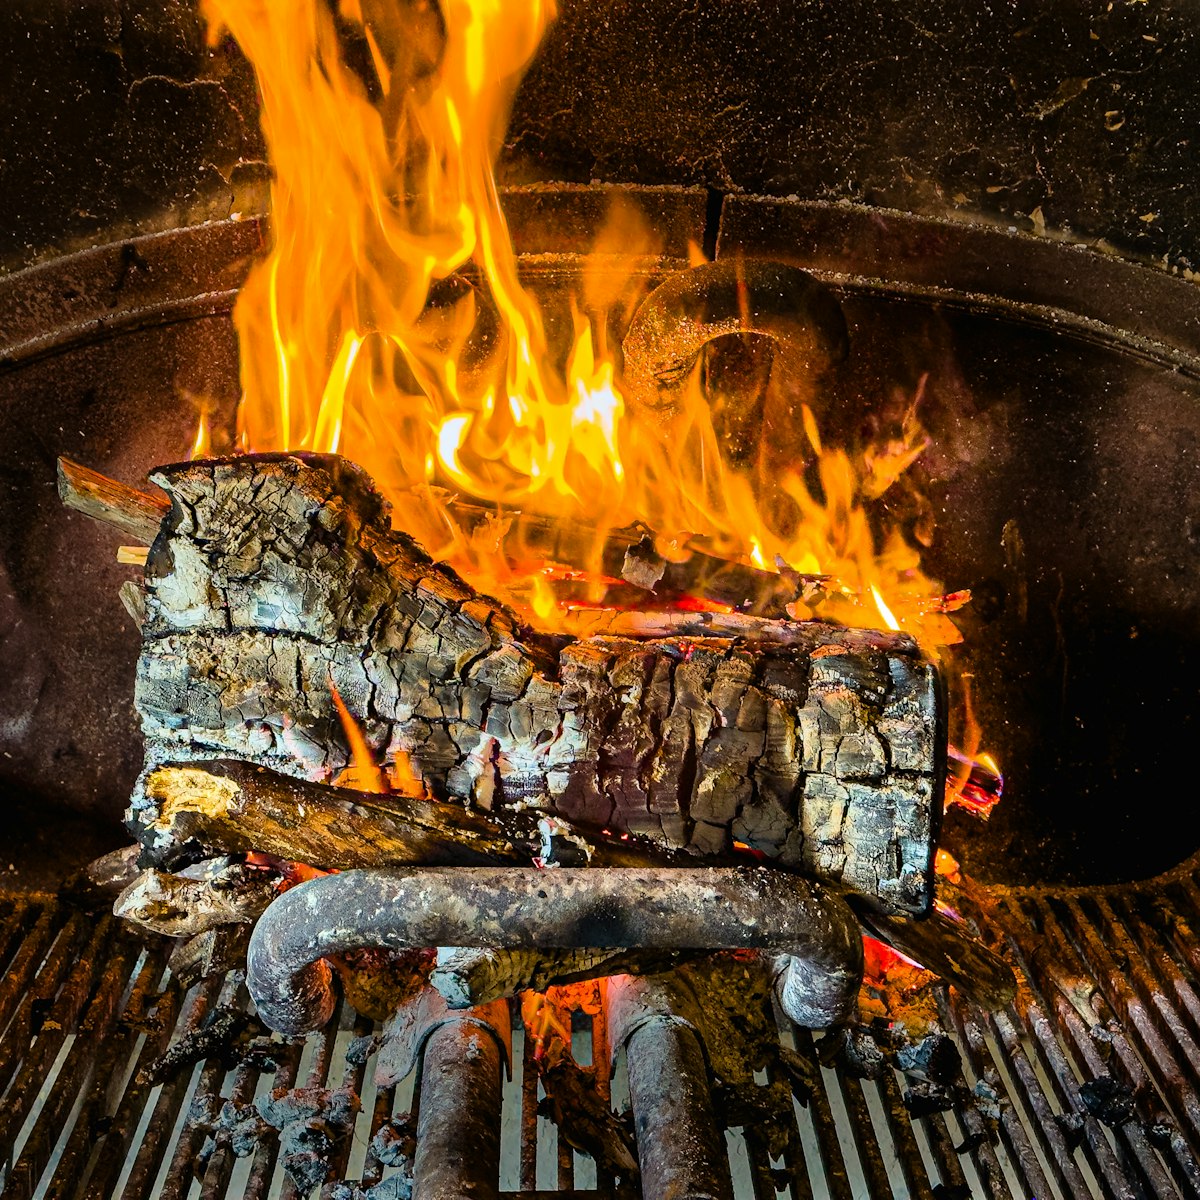
- Start early. Light your fire 30-45 minutes before you plan to cook. You need a solid bed of hot coals, not leaping flames.
- Use hardwood. Oak, hickory, maple, or cherry produce the best coals and add subtle smoke flavor. Avoid softwoods like pine — they burn fast, produce less heat, and leave a resinous taste.
- Build a hot coal bed. Once you have a thick layer of glowing coals, spread them evenly across the pit floor. Add 2-3 small splits of hardwood on top for sustained heat and a lick of flame.
- Preheat your cooking surface. Place the grill grate and pizza stone over the coals 10-15 minutes before cooking. The stone needs time to absorb heat — a properly preheated stone is the difference between soggy dough and perfect char.
Assembling and Cooking the Pizza
Stretch the Dough
On a floured surface, press and stretch one dough ball into a 12-inch round. Don’t use a rolling pin — your hands give you better control over thickness. Aim for thin in the center with a slightly thicker edge for the crust. Transfer to a floured peel or cutting board.
Top It (Less Is More)
The number one mistake in fire pit pizza is overloading toppings. Heavy toppings insulate the dough and prevent it from cooking through. Keep it to:
- A thin layer of sauce (2-3 tablespoons)
- A moderate layer of cheese
- 2-3 toppings maximum
Our favorite fire pit pizza combo: crushed San Marzano tomatoes, fresh mozzarella, a drizzle of olive oil, and fresh basil added after cooking. Simple, and the smoke does the rest.
Cook It
- Slide the pizza from the peel onto the preheated stone in one confident motion. Hesitation causes sticking.
- If you have a metal dome or aluminum pan, place it over the pizza to trap heat. This cooks the toppings from above while the stone cooks the crust from below.
- Cook 4-7 minutes, rotating the pizza 90° every 2 minutes for even cooking. Watch for the crust edges — when they’re golden-brown with dark spots, you’re close.
- Remove with the peel, let it rest 2 minutes on a cutting board, slice, and serve.
Troubleshooting Common Problems
- Bottom burns before toppings cook: Your coals are too hot directly under the stone. Spread them out or raise the grate height. A dome or cover over the pizza helps cook toppings faster.
- Dough sticks to the peel: More flour or cornmeal on the peel. Work quickly once the dough is on the peel — the longer it sits, the more it sticks.
- Soggy center: Dough was too thick, too many toppings, or stone wasn’t preheated long enough. Give the stone a full 15 minutes over hot coals.
- Uneven cooking: Rotate the pizza more frequently. Fire pits have hot spots — learn where yours are and adjust.
Beyond Margherita: Three Fire Pit Pizza Ideas
The Smoky BBQ: BBQ sauce base, shredded chicken, red onion, smoked gouda, cilantro after cooking.
The Forager: Olive oil and garlic base, sautéed wild mushrooms, fontina cheese, fresh thyme, truffle oil drizzle.
The Breakfast Pizza: Ricotta base, crumbled bacon, crack an egg in the center during the last 2 minutes of cooking, everything bagel seasoning.
Make It a Full Outdoor Cooking Night
Pizza is just the start. Once you have a fire pit cooking setup dialed in, try these campfire recipes for appetizers and desserts that use the same fire. A good meal plan: start with pizza while the fire is hottest, then shift to slow-roasted vegetables or cast iron skillet desserts as the coals mellow.
For more ideas on turning your fire pit into a full outdoor kitchen, explore our outdoor cooking collection.
